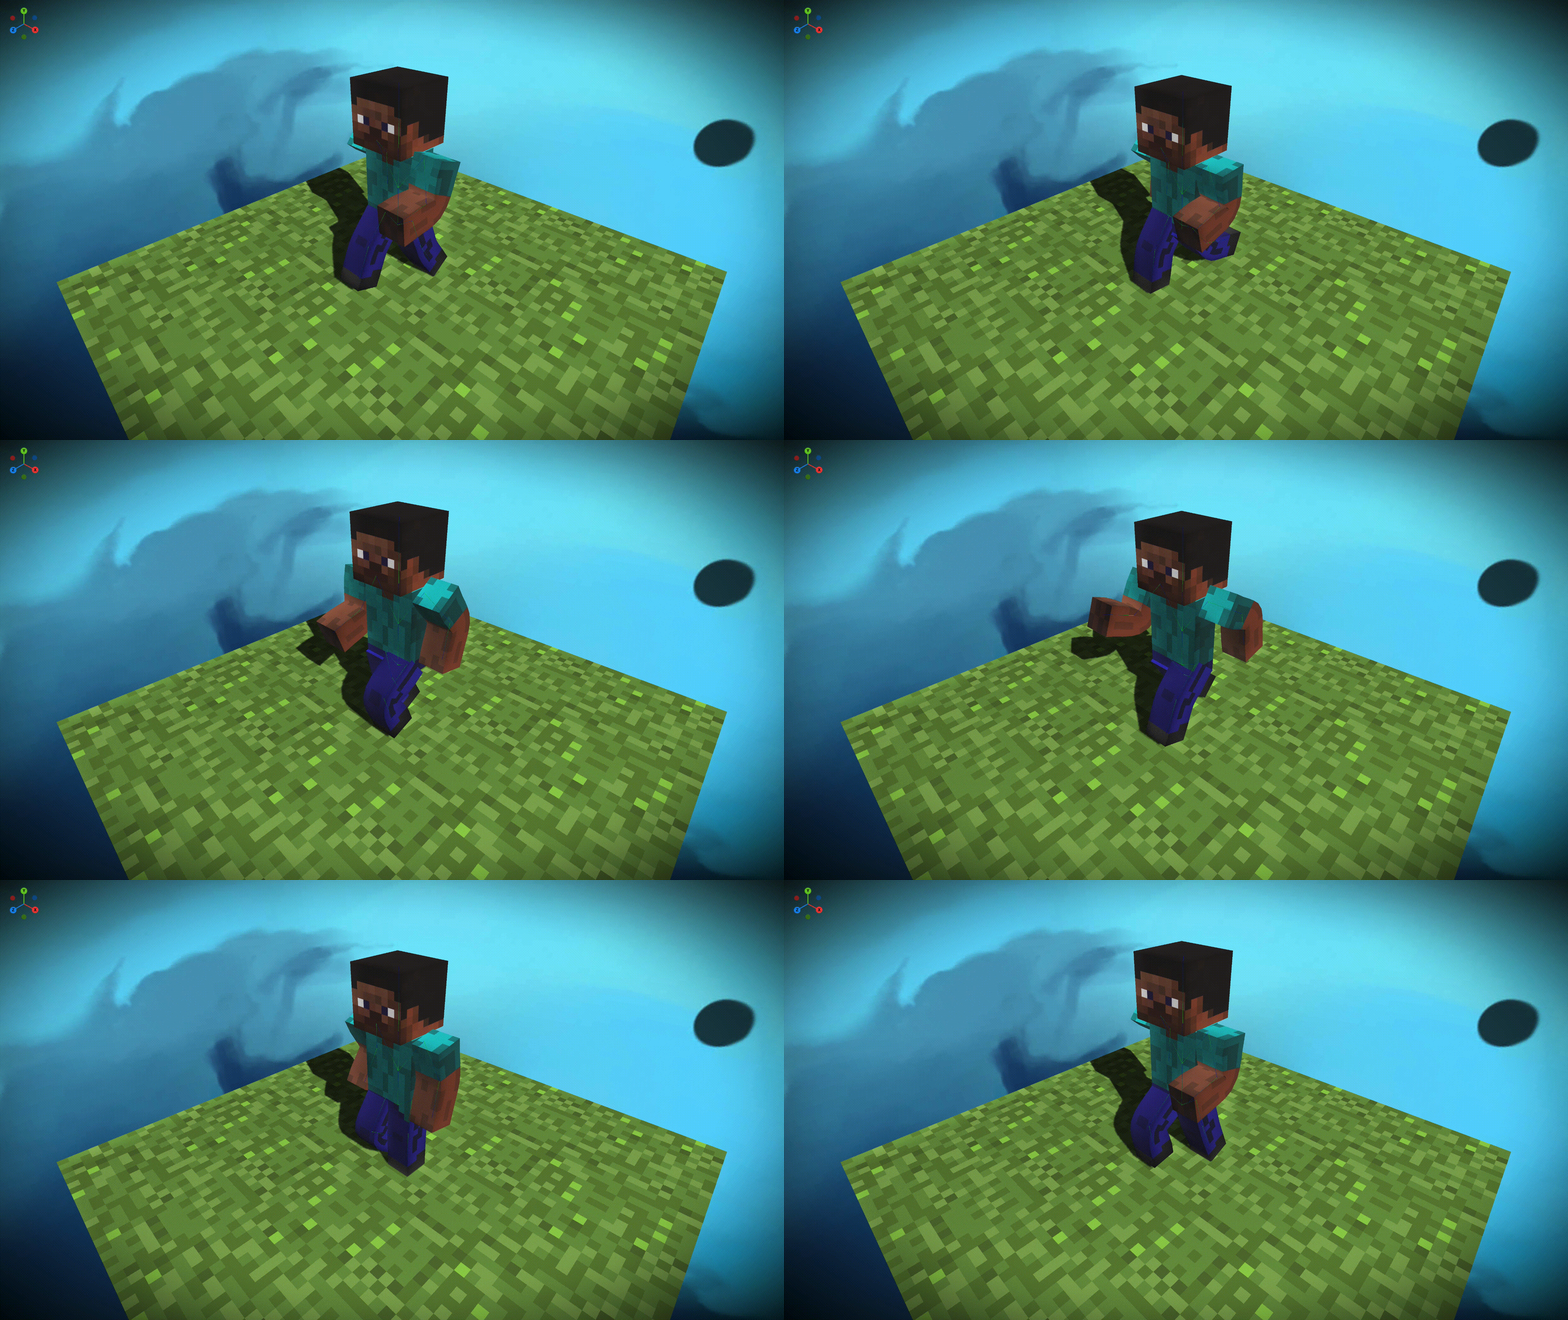
模型动画分两种,顶点动画和骨骼动画,上图行走的史蒂夫是我用 three.js 写的一个骨骼动画的 Demo
顶点动画 (Vertex Animation)
相对于骨骼动画,顶点动画的概念可能更好理解一些。我们对模型的网格数据逐帧、逐顶点进行矩阵变换(平移、旋转、缩放),记录下每帧的变换操作;或是利用插值函数记录下关键帧,这就是顶点动画了。理论上顶点动画完全可以实现任意的模型动画,然而这是一项数据密集型的技术,数据太过冗余,实际生产中很少用到。
骨骼动画 (Skeleton Animation)
骨骼拉伸带动肌肉,肌肉再带动皮肤。我们只需记录骨骼的位置就能得出皮肤网格的顶点位置。

骨骼 Bone
骨骼有3个基础元素(见右上图):
- 头部 Root
- 主体 Body
- 尾部 Tip
蒙皮 Skinned
蒙皮就是把骨骼和模型结合起来的过程,蒙皮网格叫做 Skinned Mesh。在一些建模软件中,支持一键蒙皮(根据网格顶点到骨骼的距离自动赋权重)。

权重 Weight
蒙皮网格中还包含了 顶点受哪些骨骼影响 以及这些 骨骼影响该顶点的权重。听起来有点绕,用公式表示蒙皮网格顶点的坐标大概像这样:
$$P_i = \sum_j W_j \cdot ( \mathbf{M_j} \times \vec{V_i} )$$
其中 i 是网格顶点的下标,j 表示骨骼的下标,$V_i$ 表示网格的模型坐标,$P_i$ 表示变换后网格的世界坐标,$W_j$ 表示第 j 个骨骼对网格顶点的影响,$\mathbf M_j$ 是一个 4x4 矩阵,表示骨骼变换本身(平移、旋转、缩放)。
three.js 对骨骼动画的实现
我们以最常用的 MeshStandardMaterial 材质为例,梳理一下 three.js 着色部分的源码
着色器入口 ShaderLib.js
首先找到材质 shader 的入口 src/renderers/shaders/ShaderLib.js
./src/renderers/shaders/ShaderLib.js1
2
3
4
5
6
7
8
9
10
11
12
13
14
15
16
17
18
19
20
21
22
23
24
25
26
27
28
29
30
| const ShaderLib = {
basic: { },
lambert: { },
phong: { },
standard: {
uniforms: mergeUniforms([
UniformsLib.common,
UniformsLib.envmap,
UniformsLib.aomap,
UniformsLib.lightmap,
UniformsLib.emissivemap,
UniformsLib.bumpmap,
UniformsLib.normalmap,
UniformsLib.displacementmap,
UniformsLib.roughnessmap,
UniformsLib.metalnessmap,
UniformsLib.fog,
UniformsLib.lights,
{
emissive: { value: new Color( 0x000000 ) },
roughness: { value: 1.0 },
metalness: { value: 0.0 },
envMapIntensity: { value: 1 }
}
]),
vertexShader: ShaderChunk.meshphysical_vert,
fragmentShader: ShaderChunk.meshphysical_frag
},
}
|
传了一堆 uniforms 进来,以及着色器的入口,骨骼主要是在顶点着色阶段作用。
理解源码
我们进入 meshphysical_vert (meshphysical.glsl) 看看,我省略了大部分无关的引入。<完整源码>
./src/renderers/shaders/ShaderLib/meshphysical.glsl.js1
2
3
4
5
6
7
8
9
10
11
12
13
14
15
|
#include <skinning_pars_vertex>
void main() {
#include <skinbase_vertex>
#include <begin_vertex>
#include <skinbase_vertex>
#include <skinning_vertex>
#include <project_vertex>
}
|
如果你读过 three.js 着色器源码的话就能发现 three 的着色器充斥着大量的 #include,非常不方便阅读,我简单整理代码,将 #include 的代码合并到一个文件中:
1
2
3
4
5
6
7
8
9
10
11
12
13
14
15
16
17
18
19
20
21
22
23
24
25
26
27
28
29
30
31
32
33
34
35
36
37
38
39
40
41
42
43
44
45
46
47
48
49
50
51
52
53
54
55
56
57
58
59
60
61
62
63
64
65
66
67
68
69
70
71
72
73
74
|
#ifdef USE_SKINNING
uniform mat4 bindMatrix;
uniform mat4 bindMatrixInverse;
#ifdef BONE_TEXTURE
uniform highp sampler2D boneTexture;
uniform int boneTextureSize;
mat4 getBoneMatrix( const in float i ) {
float j = i * 4.0;
float x = mod( j, float( boneTextureSize ) );
float y = floor( j / float( boneTextureSize ) );
float dx = 1.0 / float( boneTextureSize );
float dy = 1.0 / float( boneTextureSize );
y = dy * ( y + 0.5 );
vec4 v1 = texture2D( boneTexture, vec2( dx * ( x + 0.5 ), y ) );
vec4 v2 = texture2D( boneTexture, vec2( dx * ( x + 1.5 ), y ) );
vec4 v3 = texture2D( boneTexture, vec2( dx * ( x + 2.5 ), y ) );
vec4 v4 = texture2D( boneTexture, vec2( dx * ( x + 3.5 ), y ) );
mat4 bone = mat4( v1, v2, v3, v4 );
return bone;
}
#else
uniform mat4 boneMatrices[ MAX_BONES ];
mat4 getBoneMatrix( const in float i ) {
mat4 bone = boneMatrices[ int(i) ];
return bone;
}
#endif
#endif
void main() {
vec3 transformed = vec3(position);
#ifdef USE_SKINNING
mat4 boneMatX = getBoneMatrix( skinIndex.x );
mat4 boneMatY = getBoneMatrix( skinIndex.y );
mat4 boneMatZ = getBoneMatrix( skinIndex.z );
mat4 boneMatW = getBoneMatrix( skinIndex.w );
#endif
#ifdef USE_SKINNING
vec4 skinVertex = bindMatrix * vec4( transformed, 1.0 );
vec4 skinned = vec4( 0.0 );
skinned += boneMatX * skinVertex * skinWeight.x;
skinned += boneMatY * skinVertex * skinWeight.y;
skinned += boneMatZ * skinVertex * skinWeight.z;
skinned += boneMatW * skinVertex * skinWeight.w;
transformed = ( bindMatrixInverse * skinned ).xyz;
#endif
vec4 mvPosition = vec4( transformed, 1.0 );
#ifdef USE_INSTANCING
mvPosition = instanceMatrix * mvPosition;
#endif
mvPosition = modelViewMatrix * mvPosition;
gl_Position = projectionMatrix * mvPosition;
}
|
总结
最后总结下 three.js 顶点着色器的主要逻辑
- transformed = position (模型空间坐标)
- skinVertex = bindMatrix * transformed (骨骼空间坐标)
- skinned = boneMat * skinVertex * skinWeight (应用骨骼变换)
- transformed = bindMatrixInverse * skinned (变回模型空间)
- gl_Position = MVP * transformed (得到屏幕坐标)


